Proxmox VE 8 Cluster
I decided in November that I was going to move away from VMWare and on to an open source hypervisor. Some of the systems I was using were getting to be several...


administration / HOWTOs / Linux / Tech / virtualization
by ogwatermelon · Published November 17, 2023 · Last modified November 18, 2023
I decided in November that I was going to move away from VMWare and on to an open source hypervisor. Some of the systems I was using were getting to be several...
Computer Setup and Maintenance / HOWTOs / Linux / Tech / virtualization
by ogwatermelon · Published March 28, 2021
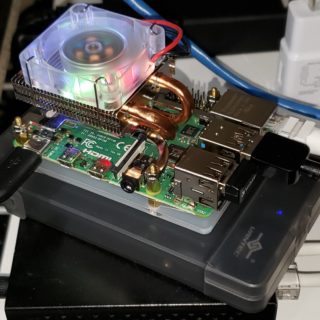
Recently I stumbled across a video that described how to put ESXi 7 on a Raspberry Pi 4. It seemed like a cool thing to try so I went out and looked in my...
administration / creativity / Info / networking / scripting / Tech / Windows
by ogwatermelon · Published November 10, 2020 · Last modified July 21, 2024
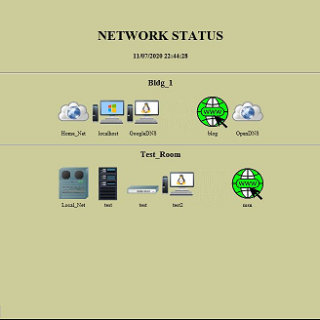
So my job has me travel around to remote sites and over see setup of events that can support several hundred computer systems at three to five sites. Once the setup is complete I...

My Swarm cluster has now been up and running since December of 2019 with only a few problems. Below are the problems I ran into after 8 months of 24/7 usage: loss of 2...
administration / custom / HOWTOs / Linux / tips & tricks
by ogwatermelon · Published May 16, 2020 · Last modified May 19, 2020
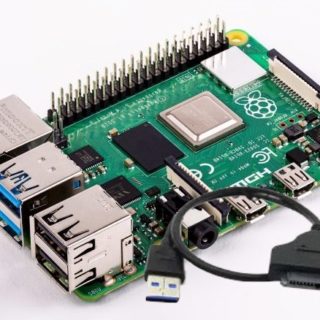
Well first off the title is wrong, you can’t boot from an SSD yet on R Pi 4. However this will help you put the root partition on a USB 3 drive. So I...
Follow:
4G Active Directory administration administration tools Android Apple backup cell phone clustering DHCP DNS Email ESXi File sharing Firefox hardware iPhone IPv6 iSCSI Kyros Linux Microsoft networking open source OS Raspberry Pi Red Hat Scripting security Server Sun tablet Tablets Tech tools Ubuntu UK Ulteo vhd virtualization VMWare web Windows Windows tool Wordpress