Private AI with Ollama and Open WebUI
So, it has been a while since I posted but I have several projects that I will document here in the near future. To get started I will talk about my primary LLM...
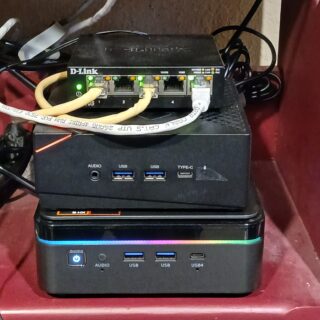
So, it has been a while since I posted but I have several projects that I will document here in the near future. To get started I will talk about my primary LLM...

I decided in November that I was going to move away from VMWare and on to an open source hypervisor. Some of the systems I was using were getting to be several...
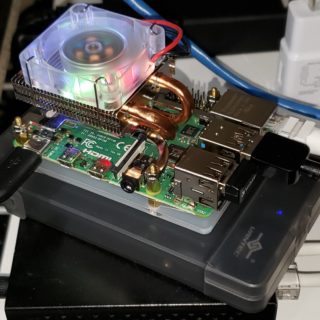
Recently I stumbled across a video that described how to put ESXi 7 on a Raspberry Pi 4. It seemed like a cool thing to try so I went out and looked in my...
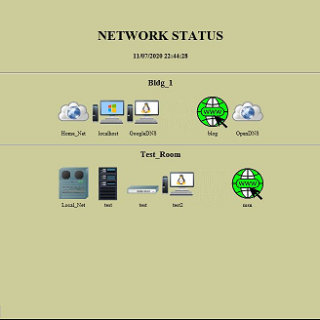
So my job has me travel around to remote sites and over see setup of events that can support several hundred computer systems at three to five sites. Once the setup is complete I...

My Swarm cluster has now been up and running since December of 2019 with only a few problems. Below are the problems I ran into after 8 months of 24/7 usage: loss of 2...